Stats2

Office 01773 719347   Sales from 9 to 5     Adrian 07971 475781 

If you need product support You will be asked for invoice no and 

serial no so have them ready if you need support!


THE GIBIDI ELECTRIC GATE

AUTOMATION SPECIALISTS

A T Ball Electrics

G:B:D: AUTOMATION 
 UK Authorised Distributor & Installer

UNLIKE OTHER NON AUTHORISED GIBIDI WEBSITES
WE ARE AUTHORISED & DO HAVE THE ITEMS IN STOCK WITH A FULL 3 YEAR GIBIDI WARRANTY

2021 The Year For GIBIDI Automation

Use this link as this site in not finished

https://www.gibidimotors.co.uk/gibidi-trouble-shooting


Do your gates close but then re-open ?


This is the gates passing the front photocells!

The gate passes the photocell as it is closing to far and breaking the photocell beam so control panel makes the gates re open...

Try just stopping the gate with your hand just short of the photocell the gate should then remain still until next opening command.

Some gates you can add a bit of steel like the picture below this helps SOMETIMES !!!...


Below is an install of an AES GSM intercom

Above is a common fault its a slug in the control panel ip box gone bang!

to fix the problem we needed a new control panel and sealed the cable holes


We have lots of call outs for gates not closing or opening... 

I think we can see why the photocell is not working

Common problems with safety edges


The below video shows how to program a Gibidi Domino remote without removing the lid of the control panel

(You must be as close to the control panel as you can or this wont work)


Gibidi Domino Programming procedure


for Gibidi AU01600, AU01680, AU03000 & AU03010 433Mhz key fob transmitters


(requires an existing working Gibidi transmitter)


1. Stand within close proximity of the Gibidi gate control enclosure


(or Gibidi garage door operator) that you wish to control.


2. Take an existing working Gibidi transmitter and press buttons one & two simultaneously and hold them both down for exactly five seconds, you now have 10 seconds to perform the next step.


3. Take the new transmitter and press the button that you wish to use to operate


your receiver for one second.


4. Programming is now complete and your new handset should now operate your receiver.


The below video shows how to program a remote with the plug in receiver unit in a control panel

Just a quick press... Don't press for more than 4 seconds as this wipes the memory and all remotes already programmed will be lost

Above is a TOP441 Motor that stopped working and keept shorting the fuse out in the control panel we found the cable had twisted and earth was touching the live conducter fixed by making the cable back off and re fixing into position

The above is not a Gibidi reciver unit and wont work with Gibidi remotes

Basic Troubleshooting For Electric Gate Automation


If you are comfortable with trying out some basic troubleshooting yourself feel free to look at arsparks guide to fixing your own electric gate automation  


Sometimes when an electric gate automation malfunctions there is a fairly simple solution. If you follow the troubleshooting guides below you might be able to repair your gates yourself and avoid a call-out charge.

Gate stuck closed or Gates stuck open

If your electric automatic gate is not opening or closing on your remote control try the following.


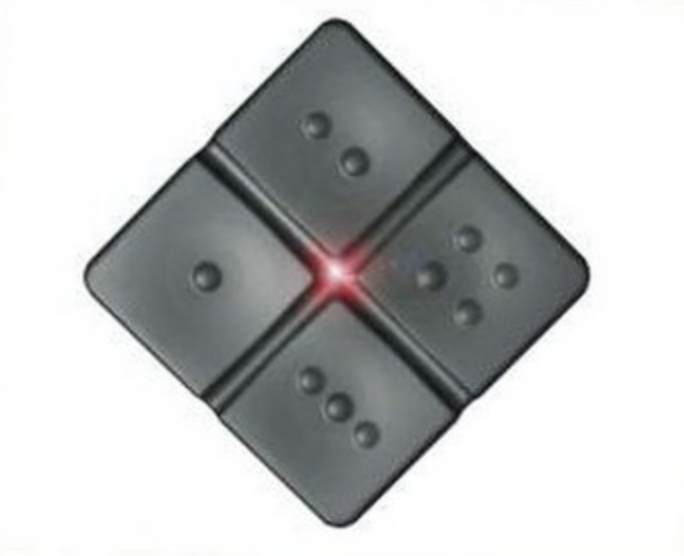
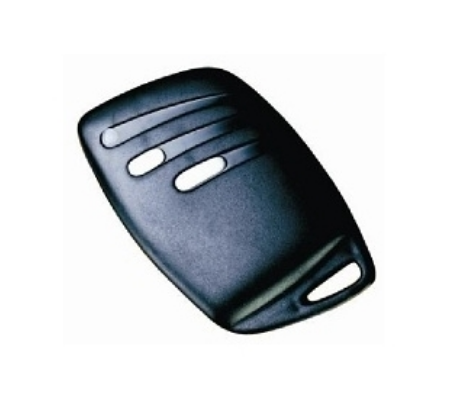
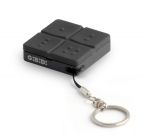
   Try using another control to open the gates such as a keypad or intercom. If this works then try another remote control. If another remote control work then it is likely your remote control batteries are flat. If no remote controls work but you can open the gates using other controls then you have a problem with your remote control receiver. 

    Check that the power supply to the gate is on. If your automated gate was installed by arsparks installers we would have explained where the electrical isolation was at time of installation. If you are unsure then check your electricity consumer unit (fuse box) and see if any of the switches are in the off position. Read the labels of any switches that are off and if they are for the electric gate switch it back on. If the trip switch returns to the off position again then you will need to ring Adrian and ask him to visit to repair your gate electrics. If the switch stays on then try your gate again.


     If power to the gate was on try turning the power off, wait 30 seconds and turn it back on. This will reset any microprocessor controls for the gate.


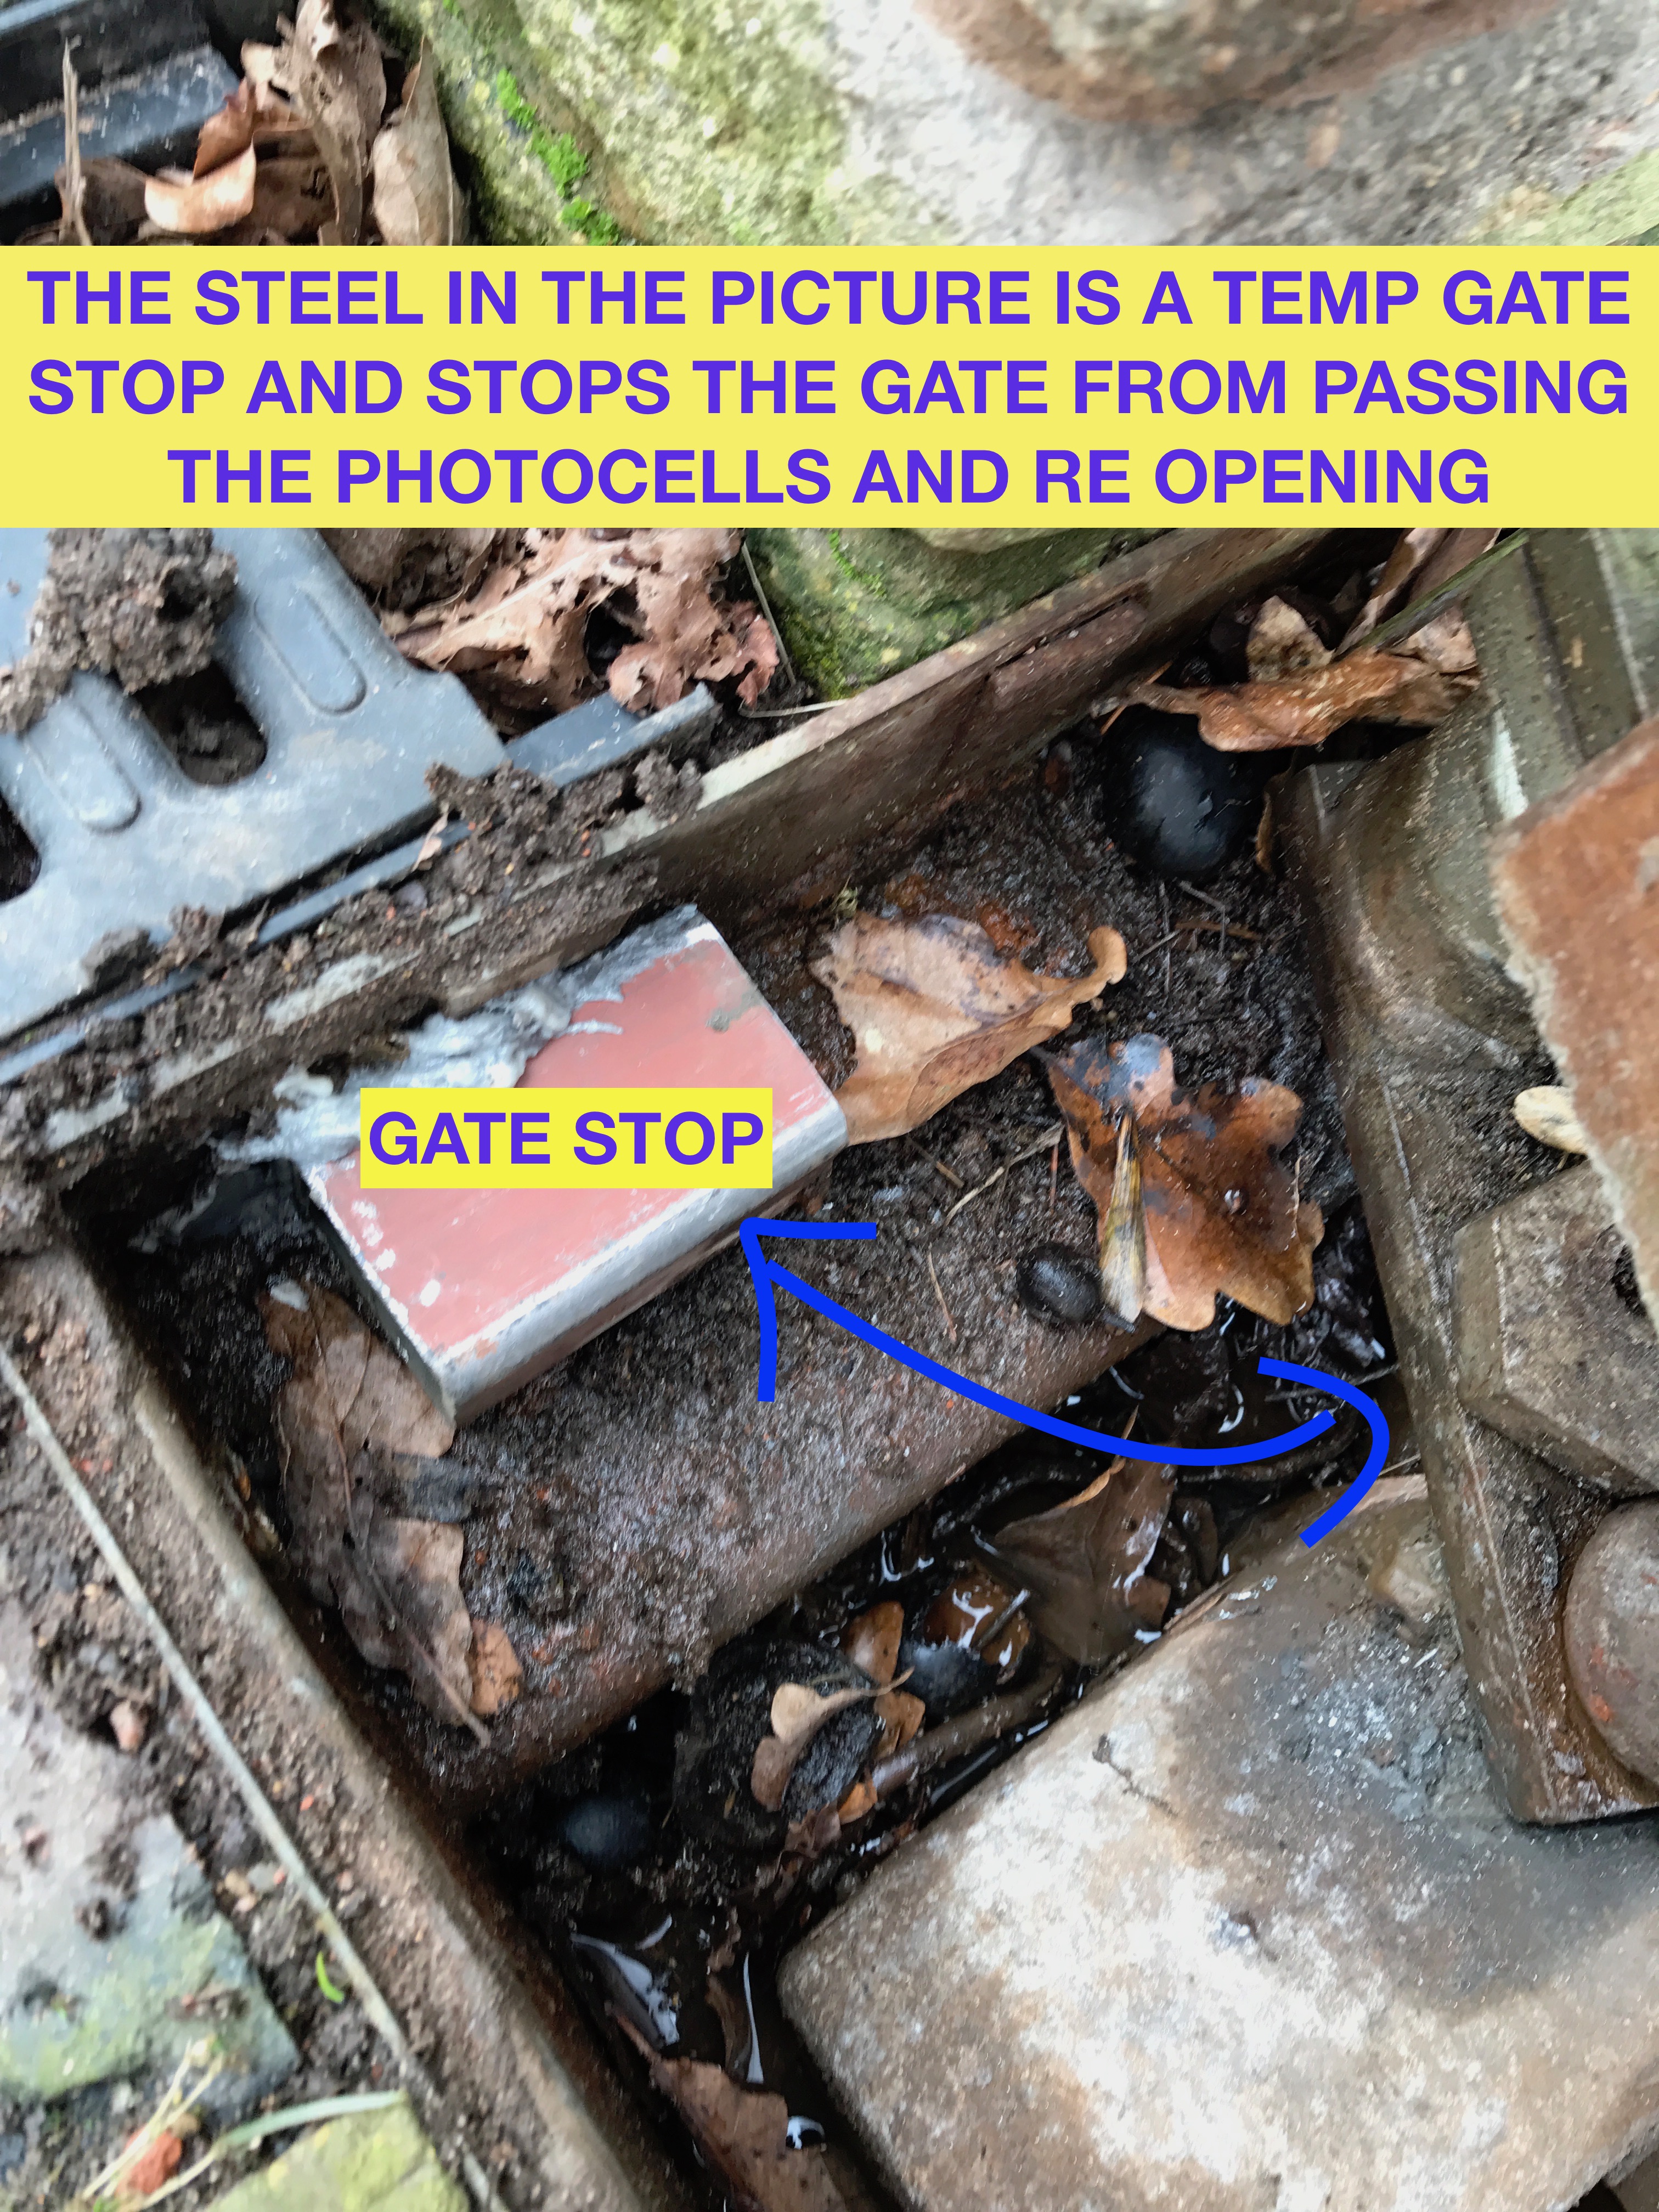
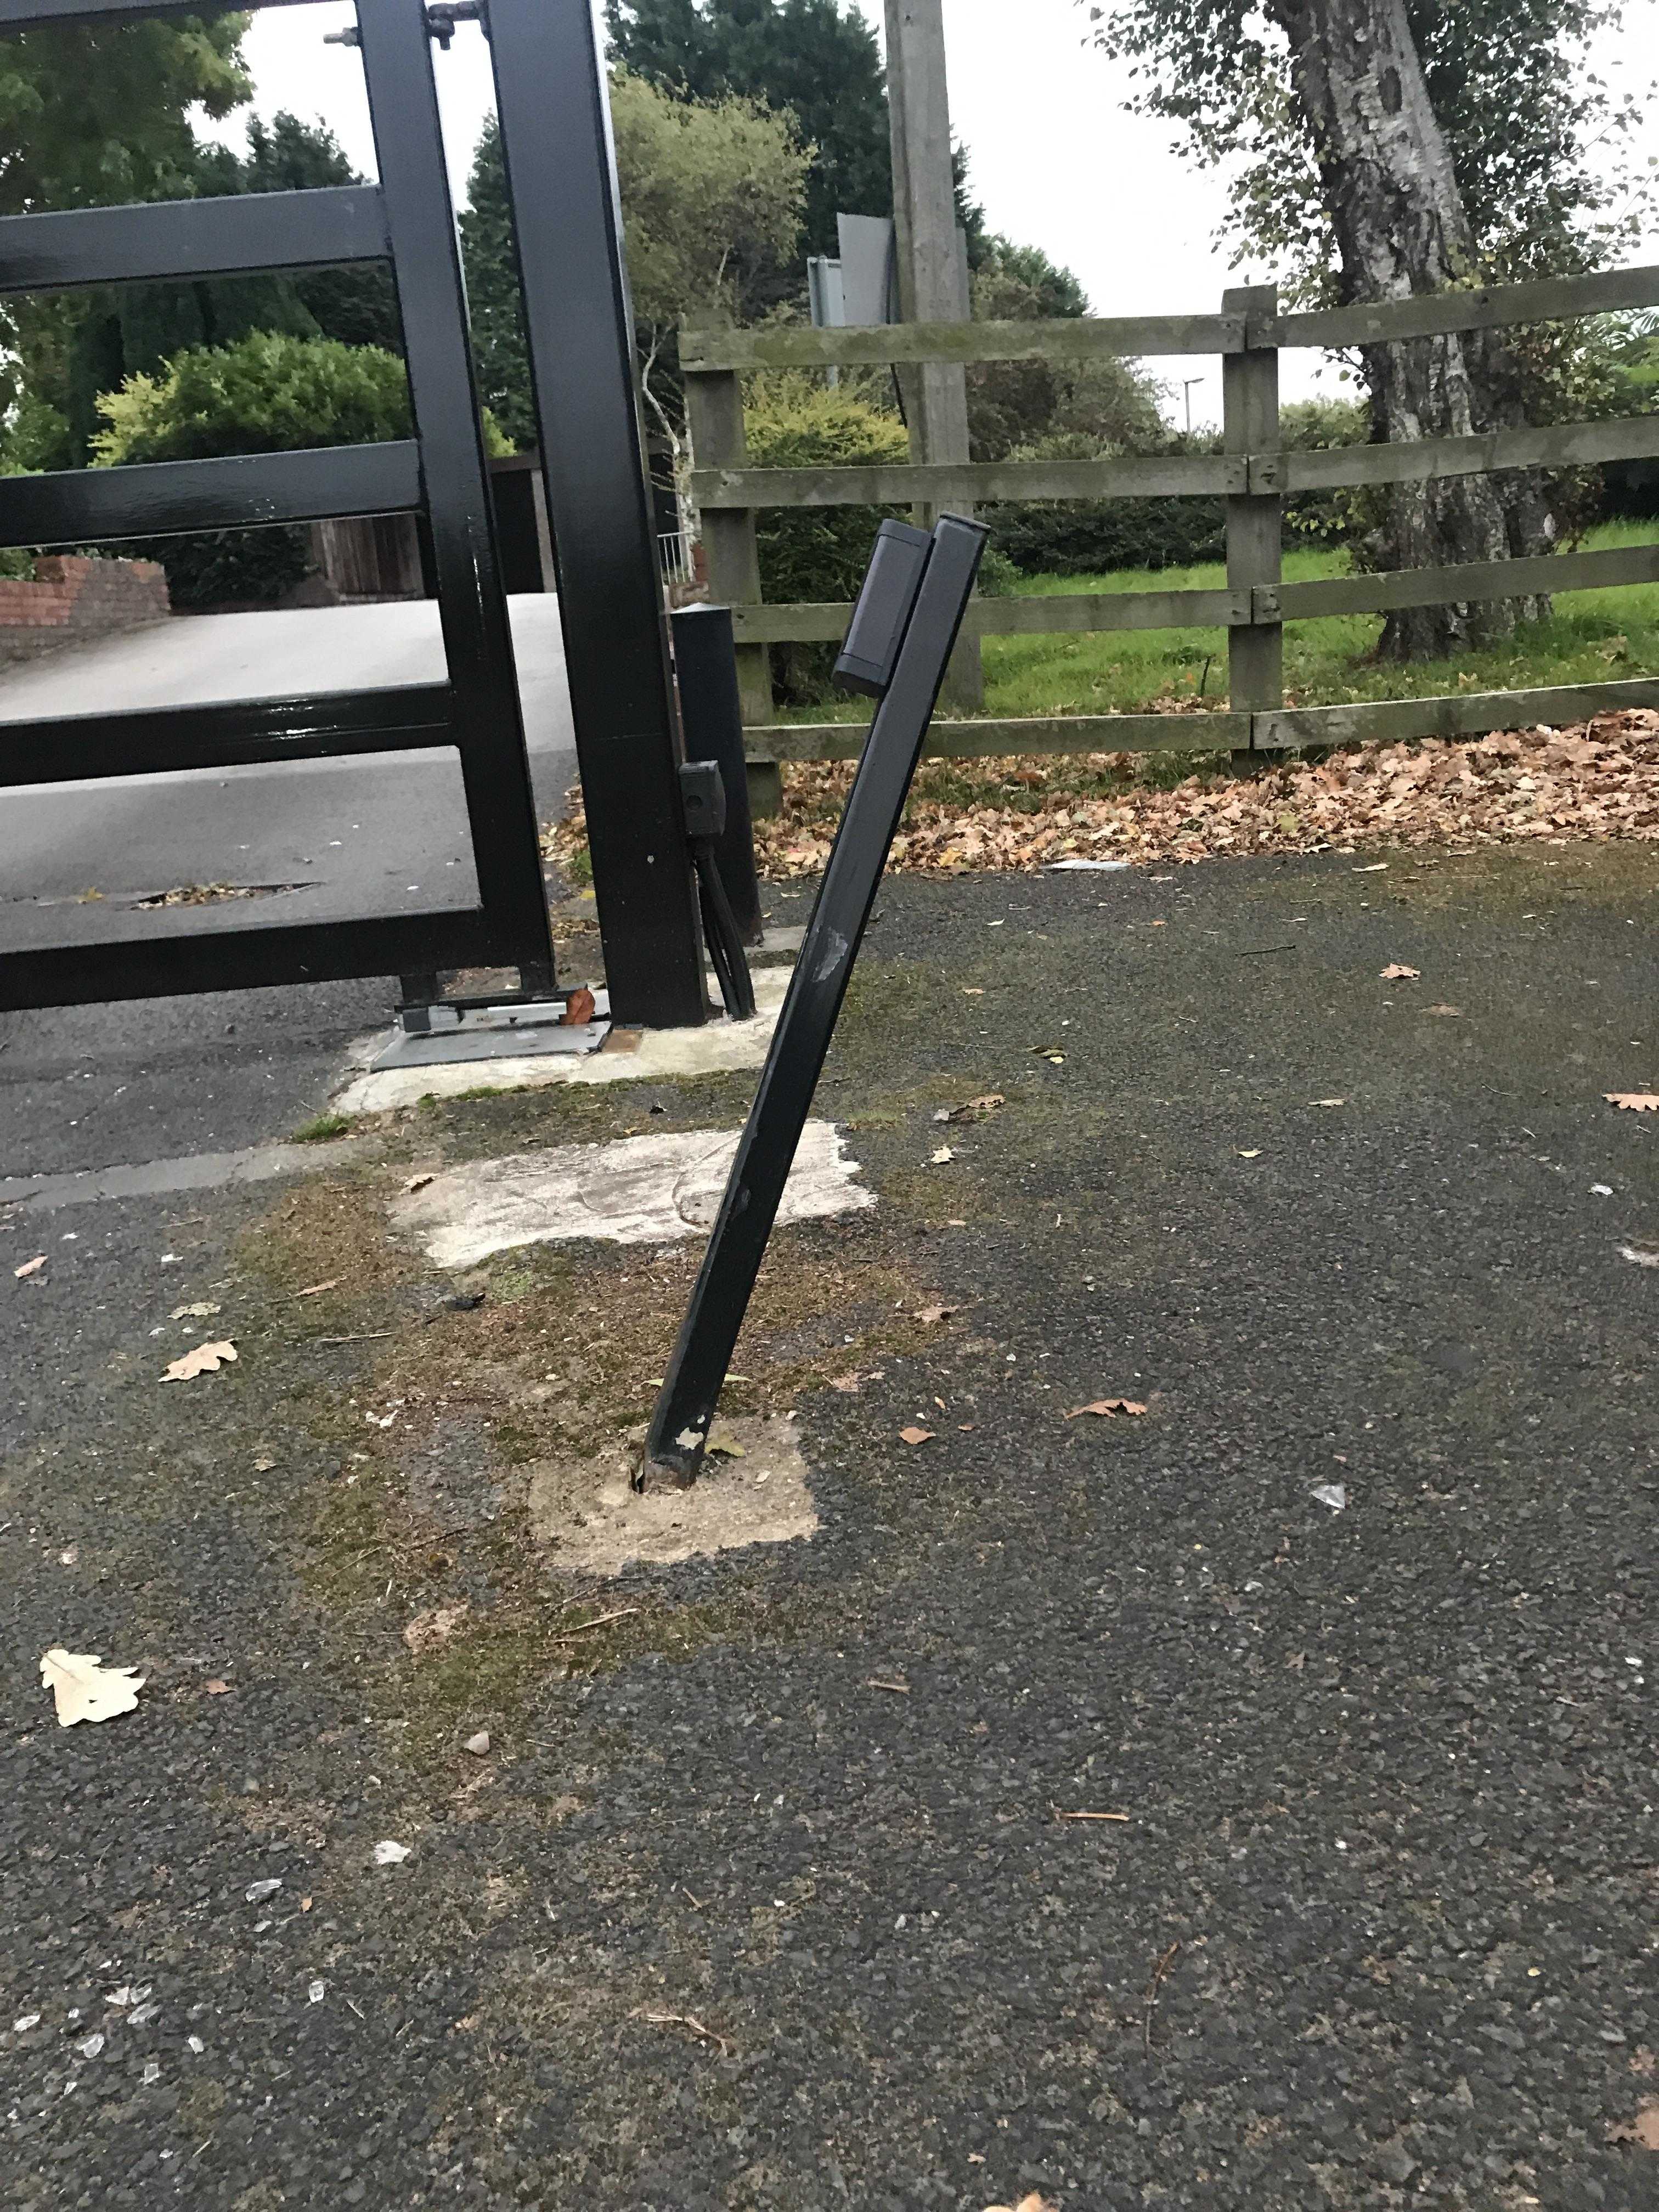
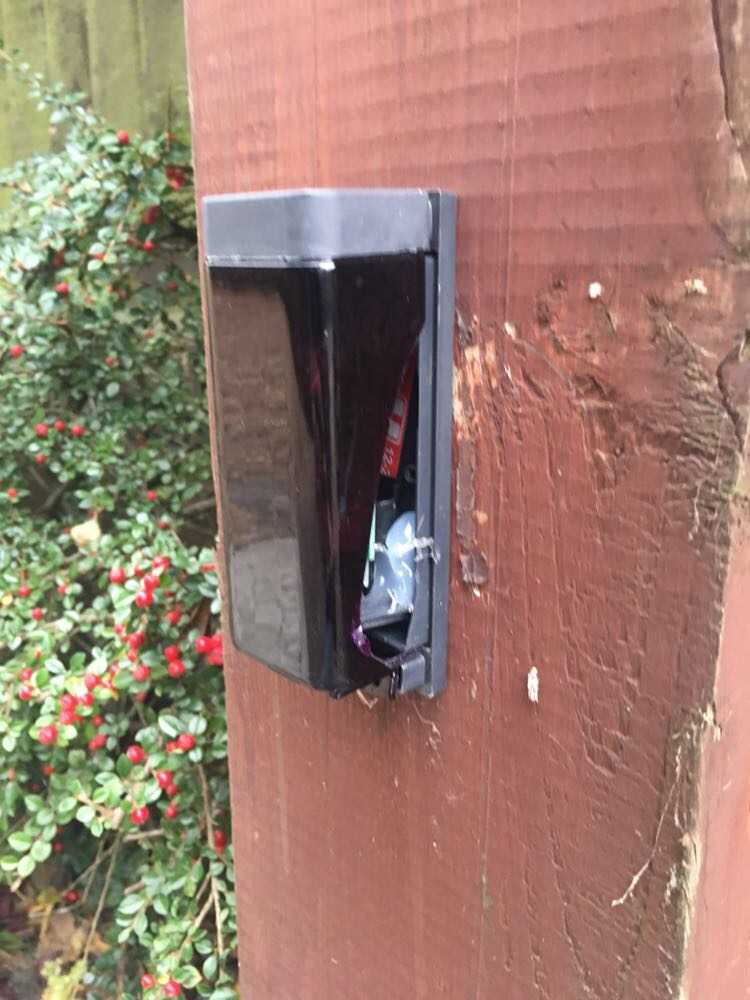
     If your gate has safety beams then check the safety beams are working. The most common cause of gates sticking open or closed is an obstruction to the infrared safety beams that shine across the gateway. Typically there are two pairs of safety beams, one just beyond the gates when they are closed and one just beyond the end of the gate when it is opened. Each safety beam box is one of a pair, a transmitter and a receiver on opposite sides of the road.

  First check that there is nothing blocking the line of site between the pair of beams such as long grass. Check that there is no mud or dirt on the front face of each beam box. Also if the weather is dry you could have a look inside the lid of the sensor's. Turn off all gate power then open the cover with a small cross head screwdriver. Then giving them a wipe out with a damp cloth or clean dry paint brush and getting rid of insects and spiders webs then replace the cover. When you have cleaned all four (if you have four)safety beams switch the power back on.

You should hear a click and see a red light from 1 photocell when you put your hand in front of the photocell

This depends on type and modal as there are lots of different sorts of photocell

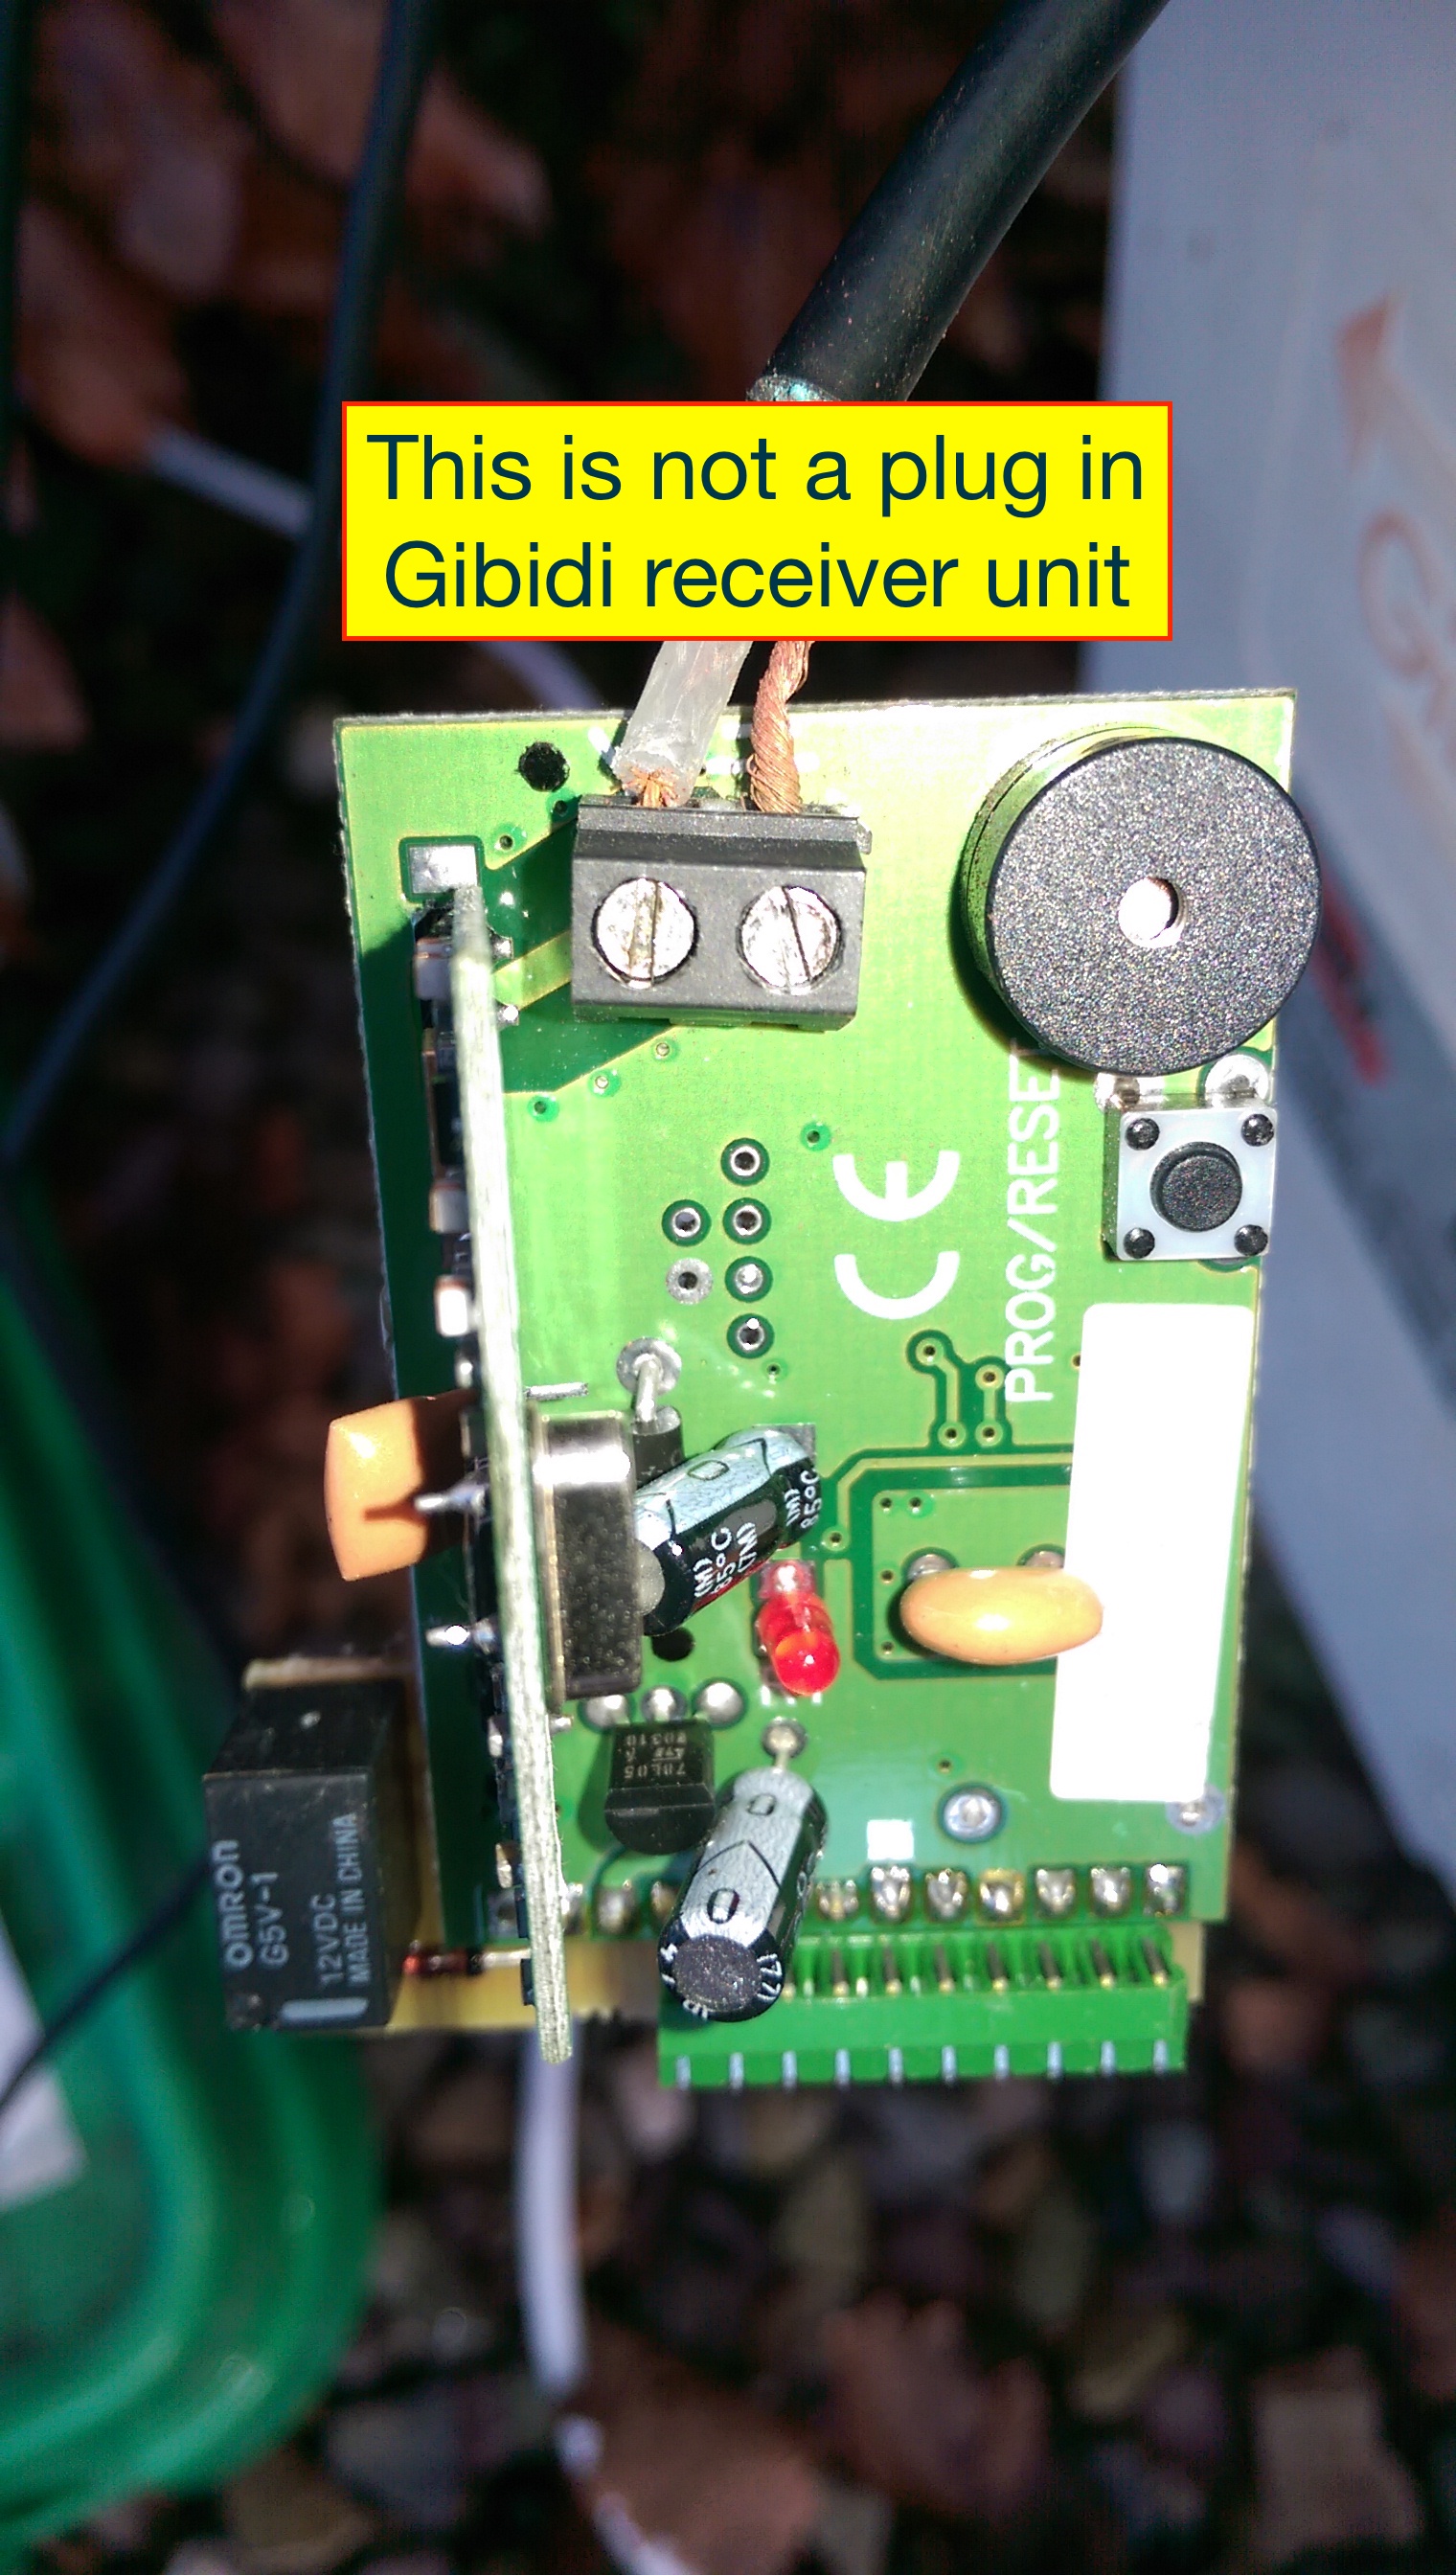
Gibidi photocells no light is good when you obstruct photocell a red light and click from 1 of the pair!

A constant red light is bad for Gibidi photocells! 


open photocells and move them as they may have come un aligned when photocells

red light gose off all  should be good!


Underground safety loops and opening and closing loops

are harder to test but if you have a colleague help you with this you stand

by the control panel and get them to drive over the loop you should hear a

click from the control panel { if the loop detector is in there}

if there is no click the unit may need resetting this can be done on most

modles by pressing the button marked reset

or it may have a timer connected to the underground loop

this may need corecting times or just advancing to on by

pressing the advance button  


if you have safety strips connected to your gates there are a few different types

one type has a cable inside a rubber strip

when pressed lightly you should hear a click at one end and when released

you should here just 1 click {if you here 2 clicks the cable may of come loose inside

if no clicks  the cable may of come loose inside or it is a different type of safety strip

this type is harder for you to test yourself


 If none of the above resolves the problem then call Adrian to repair your electric gate automation.


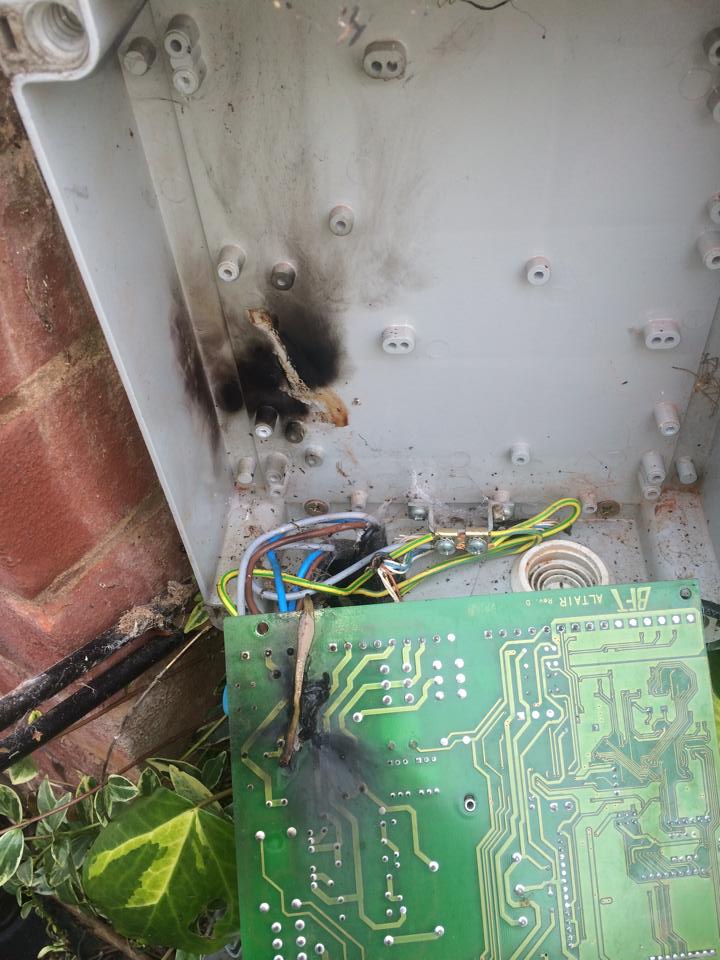
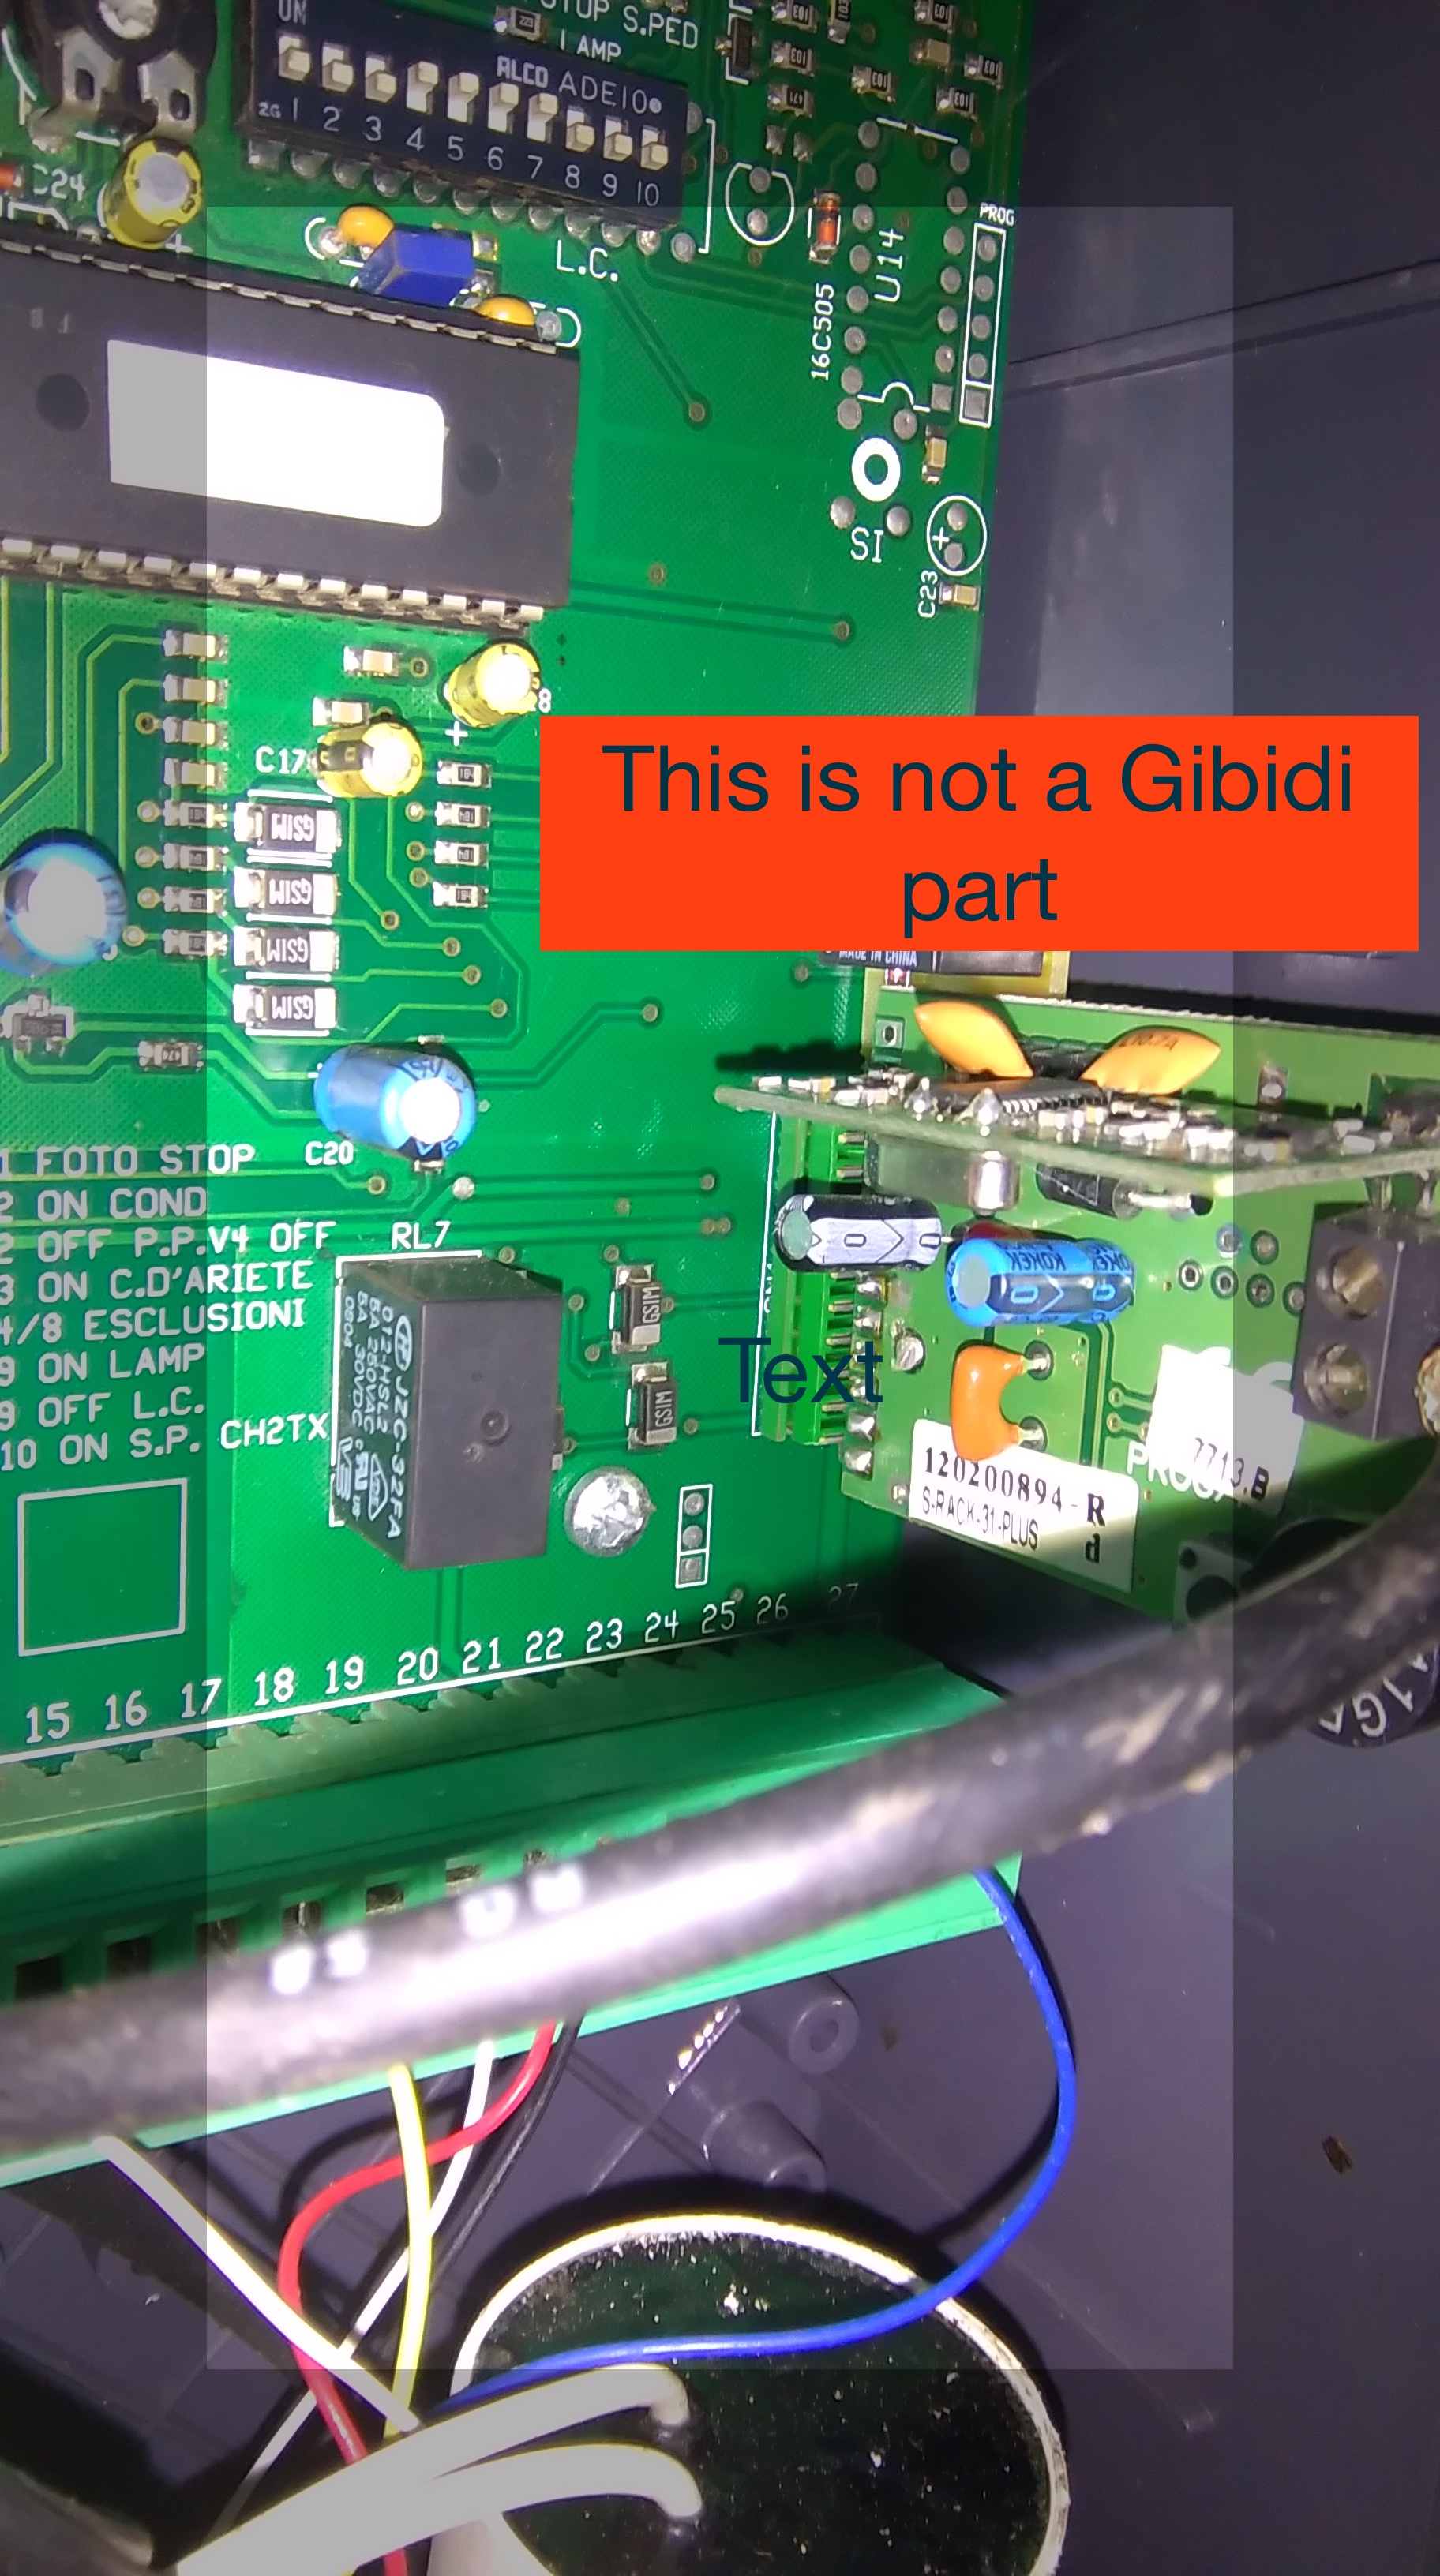
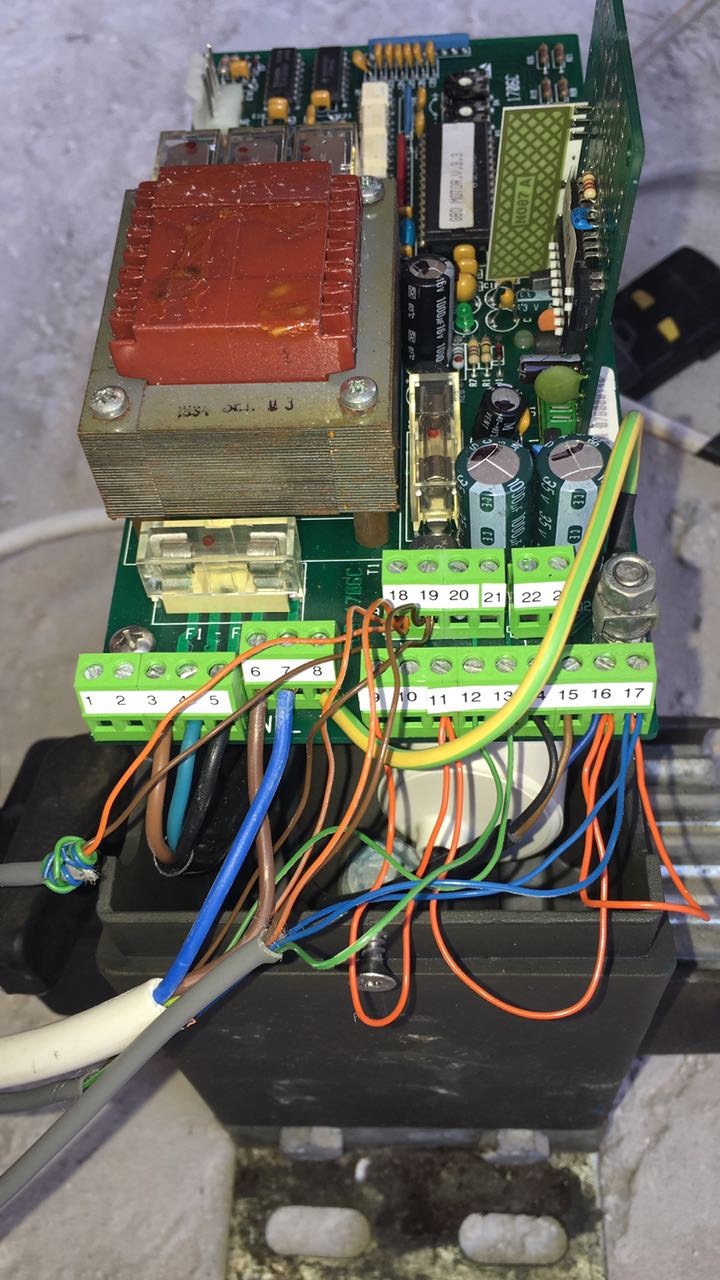
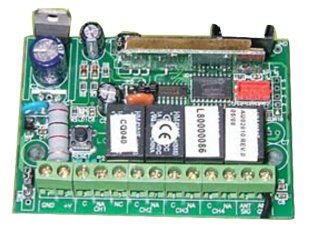
    The electronic gate control panels internal fuses may have blown. It is very important that you isolate the gate electrics before checking them.

DO NOT PROCEDE IF YOU ARE UNSURE HOW TO SWITCH THE POWER OFF.

After switching off the power to the gateway open up the control panel enclosure. Look on the main circuit board for the labelled fuses. Open each one in turn and look at the glass fuse inside. If the fuse has not blown you should be able to see a very fine silver wire inside it. If the fuse has blown there may be replacements in the control panel housing. Read the rating of the fuse on the silver cap and replace it with one of the same rating. It is very important you only use a fuse of exactly the same rating or you may damage your equipment. If you are at all unsure of the correct fuse to use or the fuse blows again after you have replaced it and switched power back on then call Adrian  to come and repair your electric gate automation.


   If none of the above helps then your gate


will need professional


 help and we recommend you give us a call at


Adrian

07971 475781

01773719347
gibidi@arsparks.co.uk


______________________________________________


All of the below remotes are no longer avalable and will not work with the new receiver units


Below are old Gibidi remotes


Gibidi old analog receiver unit

and old remotes

GiBiDi  Domino

Remote Transmitter Fob

Configuring Additional Remote Transmitter Fobs

Additional transmitter fobs can be configured to work with

the existing installation.

In order to do this you need to be standing in front of the control box

by the gates.

(A)

USING AN EXISTING WORKING GENUINE GIBIDI DOMINO TRANSMITTER FOB.

Press buttons 1 and 2 together at the same time for 8 continuous seconds.

Then within five seconds...

Briefly press the button 1 on the new remote transmitter fob.

Leave the system for 10 seconds.

Press the button on the newly configured

transmitter fob and the gates should open.

Do not press the

Radio Transmitter Fob Button without seeing that the gate is

clear of obstructions.


OR (B)


To program a genuine Domino remote

USING AN EXISTING WORKING GENUINE GIBIDI DOMINO TRANSMITTER FOB...

You can do this by going to the control panel of


(1)Sliding gates Take the lid off the motor so you can see control panel and see through cover Then undo the screw by you at the end of the control panel by wiring then loosen the 2 screws at the far end away from the wiring to lever the see through lid up away from the wiring then at the far end away from the wiring there is a pcb card sticking up with a RED L.E.D and BUTTON by it ….


(2) Swing gates go to the control panel remove the lid and on right hand side ½ way up there is a PCB card sticking out with a RED L.E.D and   BUTTON by it Press button briefly until red L.E.D comes on then press ONLY BUTTON 1 on remote….


THAT’S IT PROGRAMMED! THEN REPEAT FOR MORE REMOTES…

If red L.E.D goes out press button again and repeat with other non-programmed remotes.


THIS PROGRAMS ALL 4 BUTTONS …. ONLY EVER PRESS BRIEFLY BUTTON 1 ON REMOTE FOR PROGRAMMING!


Don’t worry if you use buttons 2,3 or 4 as by pressing briefly button 1 this programmes all 4 buttons

If you have 2 button Gibidi remote follow the instructions but you can press the button you want to work the gates!


Don’t Press the receiver card button in for more than 5 seconds as this could delete all programmed remotes already programmed into it!


Clearing the receiver card memory

(necessary if a handset has been lost or stolen)

Locate the programming button on the receiver/control PCB. Press this button briefly then press a second time

and hold it down until the L.E.D goes out then follow steps (A) or (b) above to re-program key fobs again


Also by trying to program copy remotes this could stop genuine remotes from working

OR

 Delete all other programmed remotes from the receiver unit


Regular Maintenance by User

The Radio Transmitter Fob is battery powered. As the battery life diminishes, the range of transmission will decrease. When the red L.E.D. does not light up, you

should change your battery….


If you have problems you can give us a call at Gibidi automation on 01773719347


The new style remotes and receiver units with the red based memory chip


Below is the wiring numbers for F4+ CONTROL PANEL AND TRIM POTS


Below is changing out an old Gibidi 810 motor no longer working for a new

Gibidi 830 motor with the modiforcations to the Gibidi foundation box